Affiliate Disclaimer:
If you’re looking for a creative and heartfelt way to display your favorite memories, then this easy DIY Mod Podge photo plaques project is perfect for you! Whether you’re decorating your home or searching for a unique gift idea, these personalized photo plaques add a beautiful, custom touch to any space. Using simple materials and the magic of Mod Podge, you can turn your cherished photos into lasting keepsakes that double as stylish home decor. This easy DIY Mod Podge photo plaques tutorial will guide you step-by-step, making it an enjoyable and rewarding craft for all skill levels.
So, gather your supplies and let’s get started on creating these beautiful, one-of-a-kind photo plaques!
Materials You'll Need:
– FolkArt Chalk Paint, Rich Black: for the trim (Shop from Amazon)
– FolkArt Chalk Paint, White Adirondack: perfect for creating a neutral backdrop so your photos pop (Shop here on Amazon)
– Different Sized Shaped Wood Plaques: choose the size and shape that best fits your photo (Shop here on Amazon)
– Personal Printed Photos (printed on regular copy paper)
– Matte Mod Podge: for a durable and smooth finish (Shop here on Amazon)
– Paint Brushes: to Apply Stain (Shop here on Amazon)
–Sponge Brushes: to Apply Mod Podge & Chalk Paint (Shop here on Amazon)
– 3M Command Strips: for easy hanging without damaging walls (Shop here at Amazon)
Step-by-Step Instructions

Step 1: Prepare Your Wood Plaques
Start by selecting your wood plaques in various sizes and shapes. For the edges of the plaque, use FolkArt Chalk Paint in Rich Black to give it the wood a nice trim finish. For the surface, apply FolkArt Chalk Paint in White Adirondack. This neutral paint will create a clean and bright background that makes your photos pop. Apply the paint with a brush in a thin layer and allow it to dry completely.
Pro Tip: For this project, we used FolkArt Chalk Paint in Rich Black on the edges of the plaque and FolkArt Chalk Paint in White Adirondack on the surface to help the image stand out. If you prefer a different look, you can use any color paint or stain that best suits your style. For a rustic touch, the contrast between the darker edges and the lighter surface adds depth and character to the finished piece.
Step 2: Print & Trim Your Photos
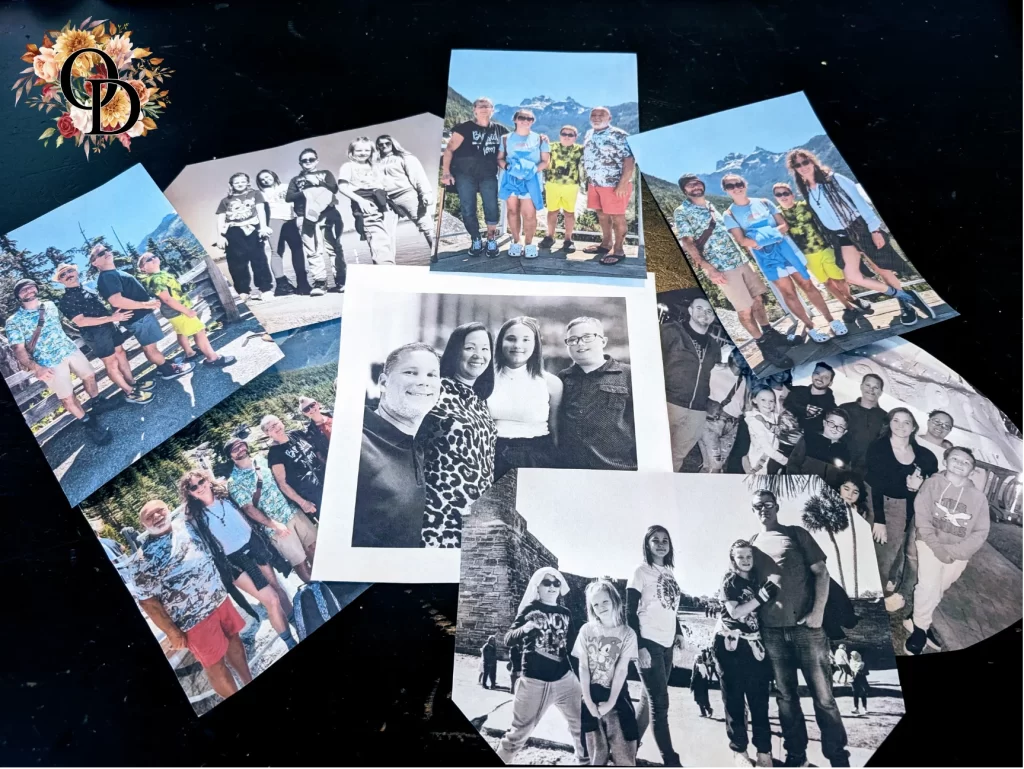
Start by measuring your plaque to ensure your photo will fit perfectly. I like to use Canva Elements (I use the grid feature shaped to match the plaque size) to size my images just right. That way, I can easily print and cut without any guesswork! Print out your favorite photos on regular copy paper using your Epson XP-15000 or whichever printer you prefer. To make sure the photo fits exactly, trim the paper to match your plaque’s dimensions. For a fun twist, try playing around with different photo shapes or cropping styles to add some personality to your design!
Pro-Tip: For the best results, adjust your printer settings to high quality or “best” print mode. Stick to copy paper instead of photo paper, as it’s thinner and will adhere better to the wood surface. Want to give your photo a vintage feel? Try printing in black and white for that timeless, classic look!
Step 3: Bake the Printed Photos
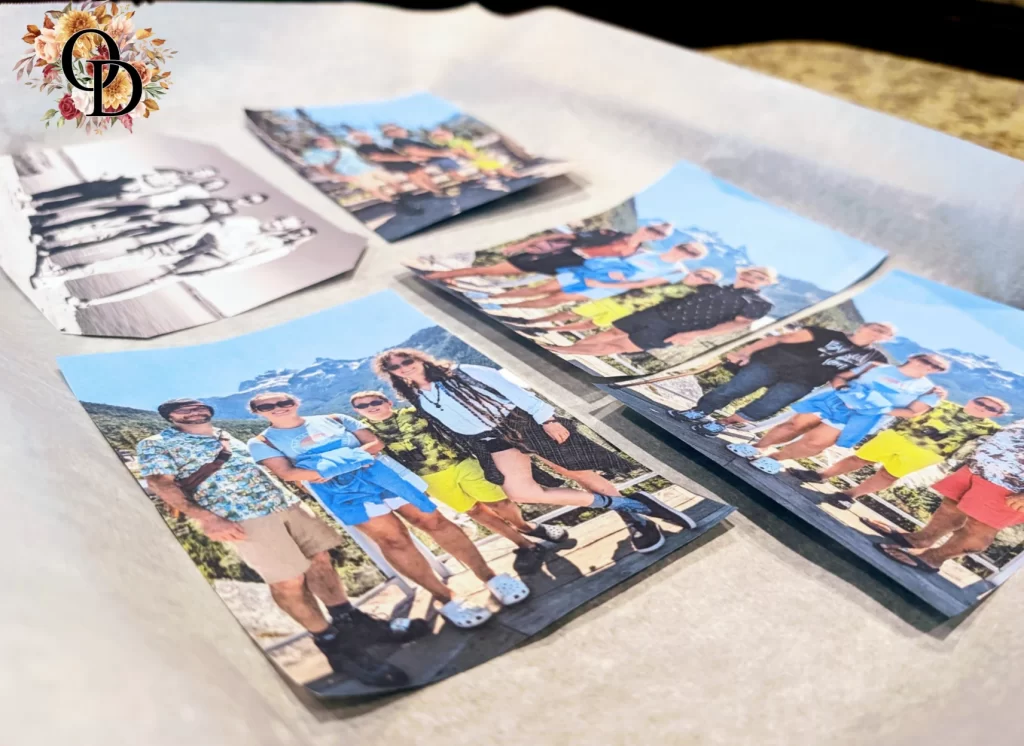
To ensure the ink is set and won’t run when applying Mod Podge, place your printed photos in the oven at 200°F (93°C) for 10 minutes. This will bake the ink into the paper and prevent smudging during the next steps. Let the photos cool down before proceeding.
Pro-Tip: Place your printed photos on a parchment-lined baking sheet to prevent curling or scorching.
Step 4: Apply a Thin Layer of Mod Podge
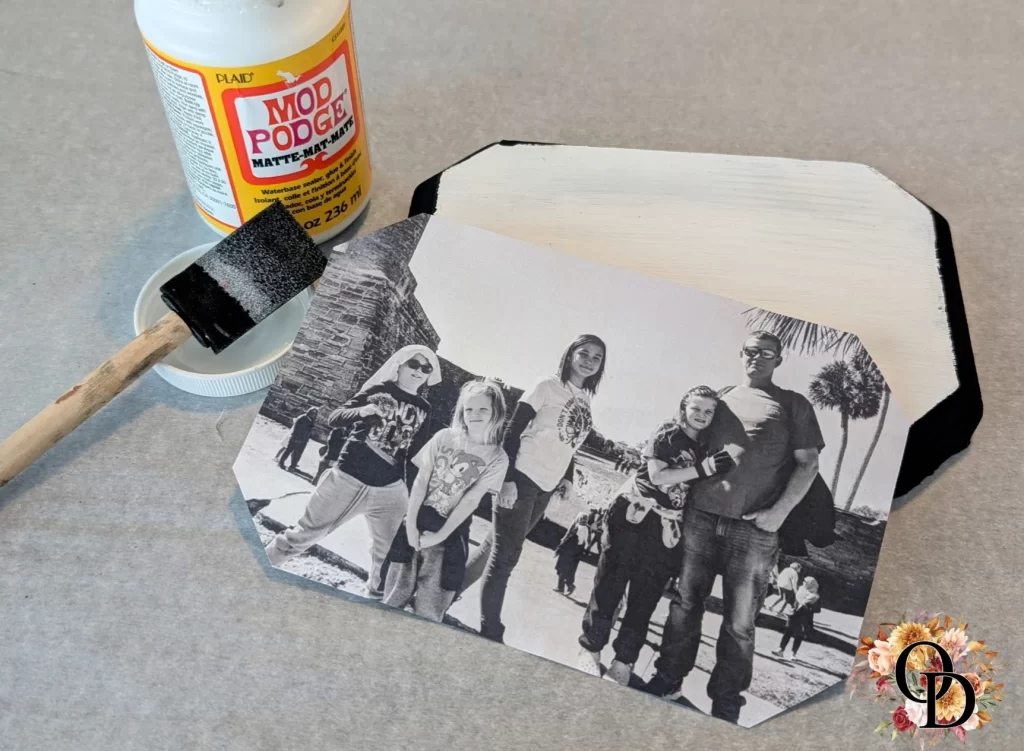
Using a sponge brush, apply a thin, even layer of Matte Mod Podge to the surface of the wood plaque. Avoid using too much, as excess Mod Podge can cause bubbles and wrinkles.
Pro-Tip: Work in one direction when applying Mod Podge to create a smooth surface. If needed, use a foam roller to eliminate brush strokes.
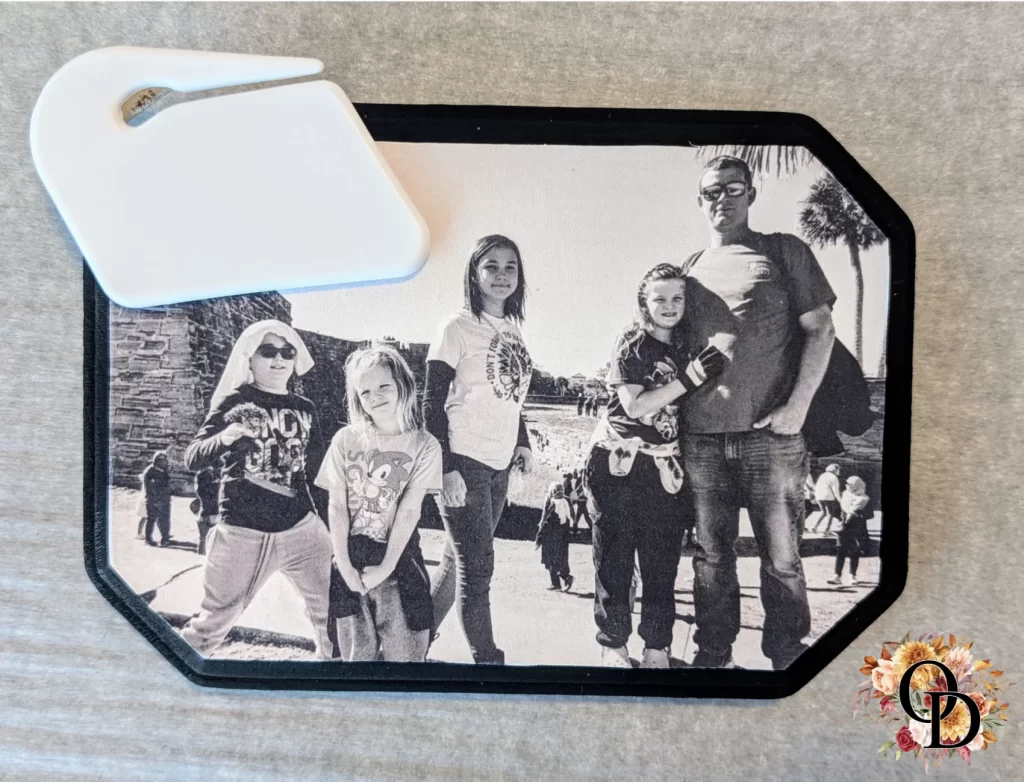
Step 5: Place the Photo
Carefully align your baked photo onto the plaque with the image facing up. Start pressing from the center and work outward to remove air bubbles and ensure smooth adhesion.
Pro-Tip: Use a credit card or plastic scraper to gently smooth out any air pockets, ensuring a flawless finish. Work slowly to prevent tearing the paper.
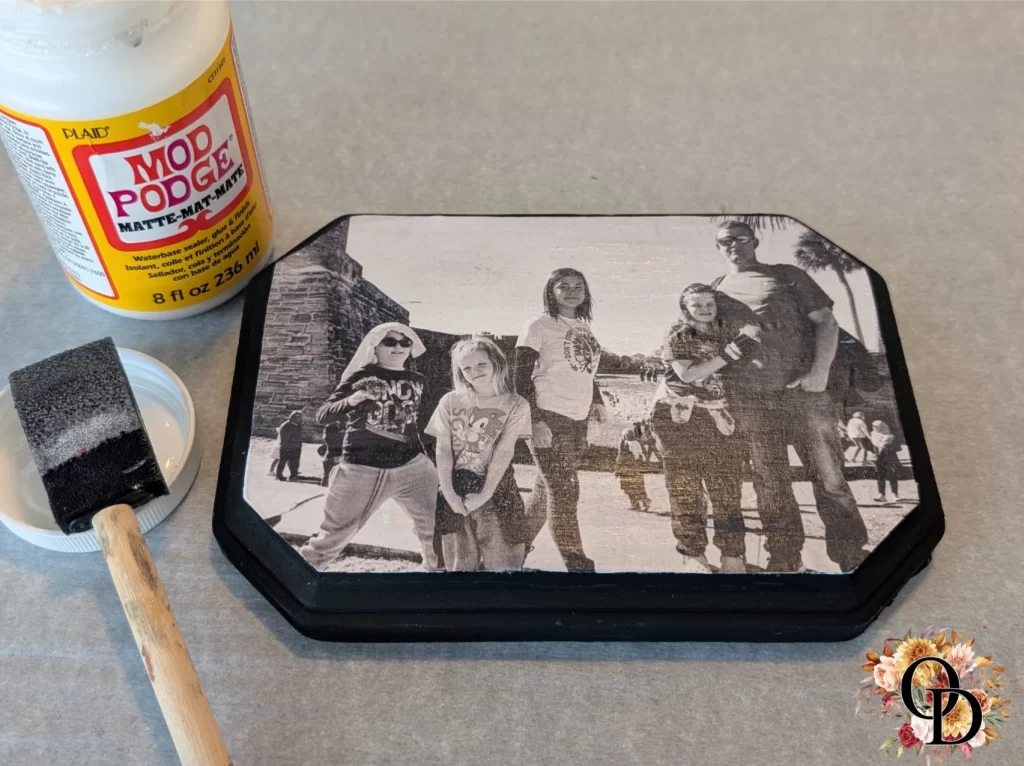
Step 6: Seal with Mod Podge
Once the photo is in place, apply another thin layer of Matte Mod Podge over the top to seal and protect the image. Allow it to dry completely.
Pro-Tip: If you prefer a textured or vintage look, use a dry sponge brush to lightly dab the Mod Podge instead of brushing it on. This adds an artistic touch to the final piece!
Step 7: Let it Dry
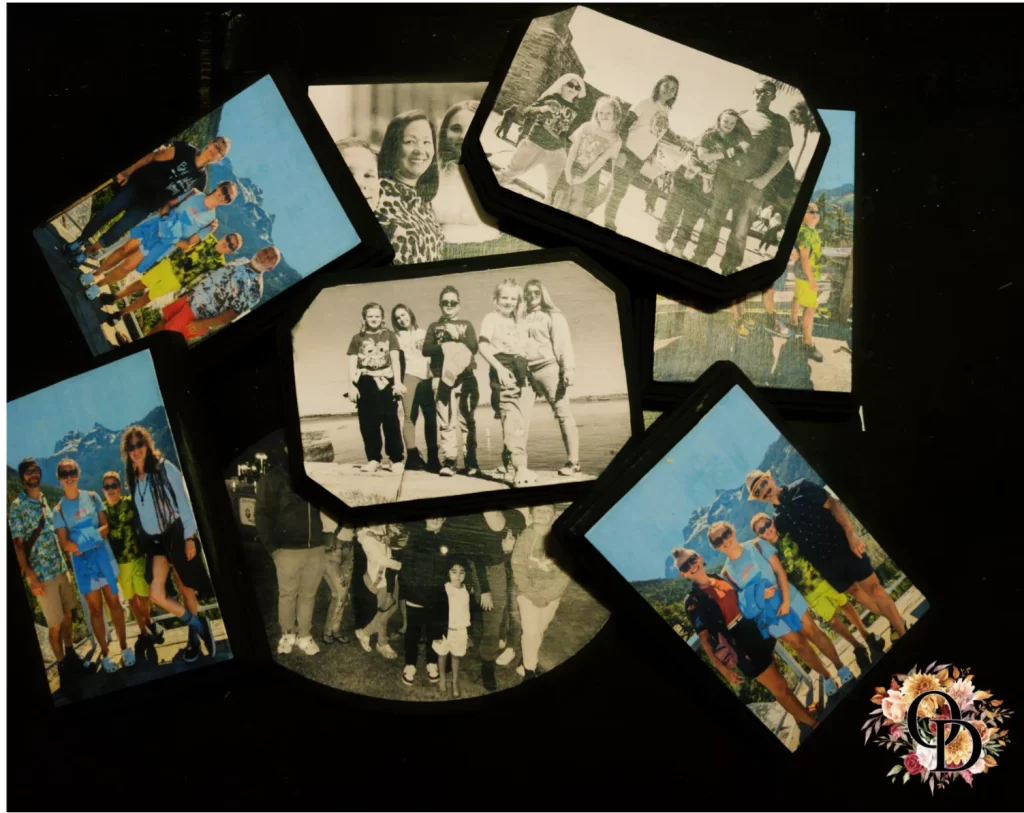
Allow the Mod Podge to dry for at least 1-2 hours, or until fully set. If necessary, apply an additional coat for durability.
Pro-Tip: To speed up drying time, place the plaque in front of a small fan or use a hairdryer on a low, cool setting.
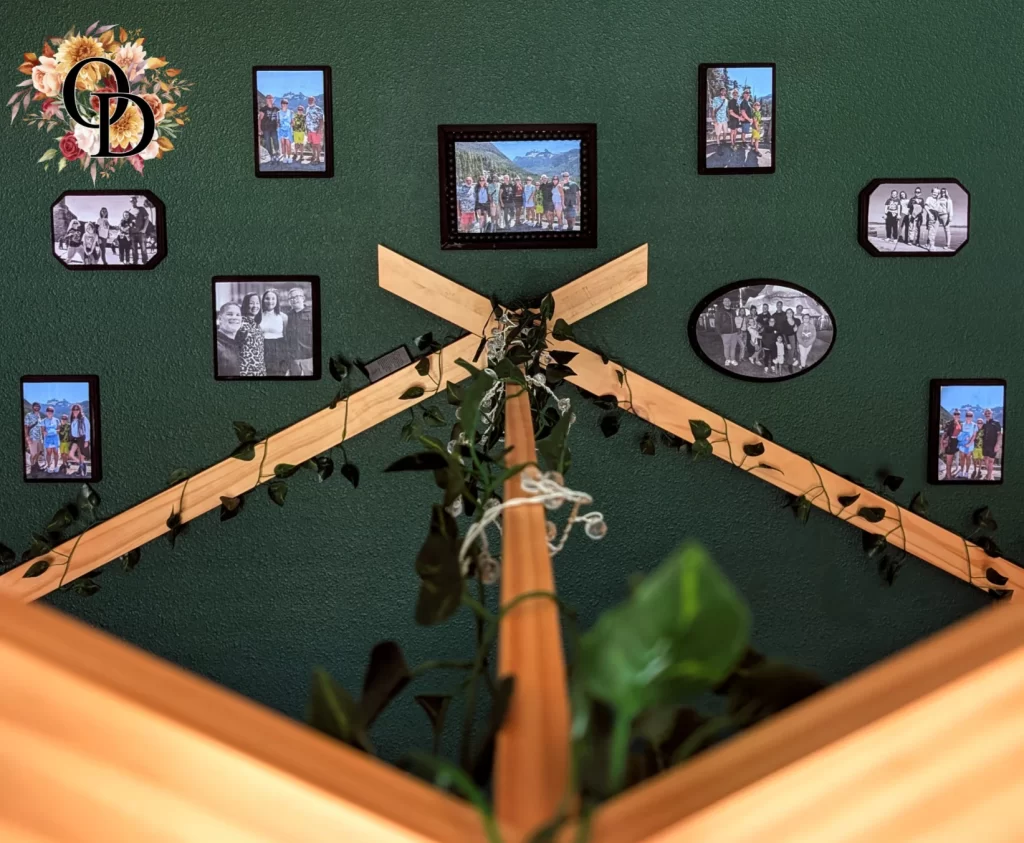
Step 8: Mount & Display
Use 3M Command Strips to easily hang your photo plaques without damaging the walls. Arrange them in a grid, staggered layout, or mix and match sizes for a dynamic display!
Pro-Tip: If gifting these plaques, consider wrapping them with twine and a small tag for a rustic, handmade touch.
Tips & Tricks
Use the Right Background Color: If you decide to use dark paint or dark stain, be sure to apply it only around the edges of the wood plaque. A dark background can obscure the printed photo, so it’s best to use a lighter stain or light-colored paint like White Adirondack for the surface. This will make sure your photo stands out beautifully.
Thin Layers of Mod Podge: When applying Mod Podge, use thin layers to avoid air bubbles and wrinkles. If you use too much, it can cause the paper to bubble or wrinkle as it dries. A light, even coat will give you the smoothest and most professional finish.
Prevent Wrinkles: Work slowly and carefully to smooth out any air pockets. A smoothing tool, credit card, or even your fingers can help press the photo flat and remove any wrinkles.
Image Placement Ideas: There are so many ways to place your images on wooden plaques.
– Centered Image: Position your photo in the center of the plaque for a clean and classic look.
– Edge Placement: Try placing your photo toward one side for a modern or asymmetrical vibe.
– Collage Style: Use multiple smaller plaques to create a photo collage on the wall, each plaque featuring a different photo.
Why We Love This Quick & Easy Project
The beauty of this DIY Mod Podge photo plaques project is how simple, budget-friendly, and customizable it is! Whether you’re a seasoned crafter or just getting started, this project is easy to follow and offers endless creative possibilities.
✔ Personalized & Meaningful – These plaques transform your favorite memories into one-of-a-kind keepsakes that make perfect gifts or sentimental home decor.
✔ Budget-Friendly – With just a few materials like wood plaques, Mod Podge, and printed photos, you can create beautiful, high-quality wall art at a fraction of the cost of custom prints.
✔ Endless Customization Options – You can truly make this project your own! Try adding:
Personalized text with stencils, vinyl, or hand lettering.
Collages with multiple photos or decorative scrapbook backgrounds.
Distressed finishes for a rustic, vintage look.
Seasonal themes to swap out decor for different holidays.
Functional elements like hooks for keys or clips for changing out photos.
✔ Quick & Fun to Make – This project comes together in just a few steps, making it a great weekend craft or fun family activity!
Whether you’re creating a gift for a loved one or a custom display for your home, these DIY Mod Podge photo plaques are a fast, easy, and rewarding way to showcase cherished memories.
Get ready to turn your favorite memories into beautiful keepsakes! Gather your materials and start crafting your own DIY Mod Podge photo plaques today.
If you enjoyed this project, be sure to explore our other quick and creative DIY tutorials for more fun ways to personalize your space. We’d love to see your finished plaques, tag us @oliveanddom on social media so we can share your amazing creations! Happy crafting!
