Affiliate Disclaimer:
Looking for an easy and creative way to decorate your space? This easy DIY hanging wall art décor is perfect for adding a personal touch to any room. Inspired by Olive’s Harry Potter-themed bedroom, I created a unique piece of art using Canva, some digital files I purchased off Etsy, a printable cotton canvas, and a simple wooden frame. Here’s how you can make your own!
Materials You'll Need:
– Printable Art: I created a Harry Potter-themed design using Canva and Harry Potter SVG/PNG files purchased on Etsy.
– 13″ x 19″ Printable Inkjet Cotton Canvas Sheets (Shop here on Amazon.)
– 1 in. x 2 in. x 8 ft. Furring Strip Board (Shop here at Lowes.)
– Minwax Polyshades Mission Oak Stain (Shop here at Lowes.)
– Minwax Polycrylic Water-Based Clear Transparent Satin Interior Stain (Shop here at Lowes.)
– Twine (Shop here at Amazon.)
– Staple Gun
– Sandpaper (Shop here at Lowes.) or Sander (Shop here at Home Depot.)
– Wood Glue (optional, for reinforcement)
– Drill (for twine holes, if necessary)
Step-by-Step Instructions
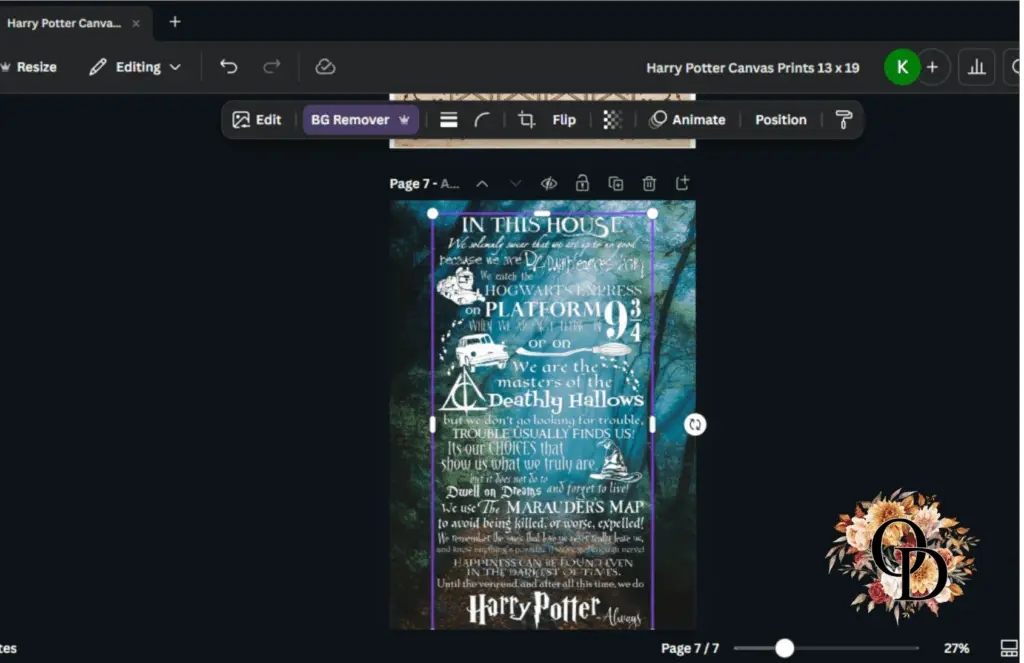
Step 1: Design & Print Your Art
Start by designing your easy diy hanging wall art decor in Canva or using a premade design. I love getting my digital files from Creative Fabrica or Etsy. For this project, I used Harry Potter-inspired quotes and graphics that I purchased here on Etsy. Once the design is ready, print it on 13″ x 19″ printable inkjet cotton canvas sheets for a professional and durable finish.
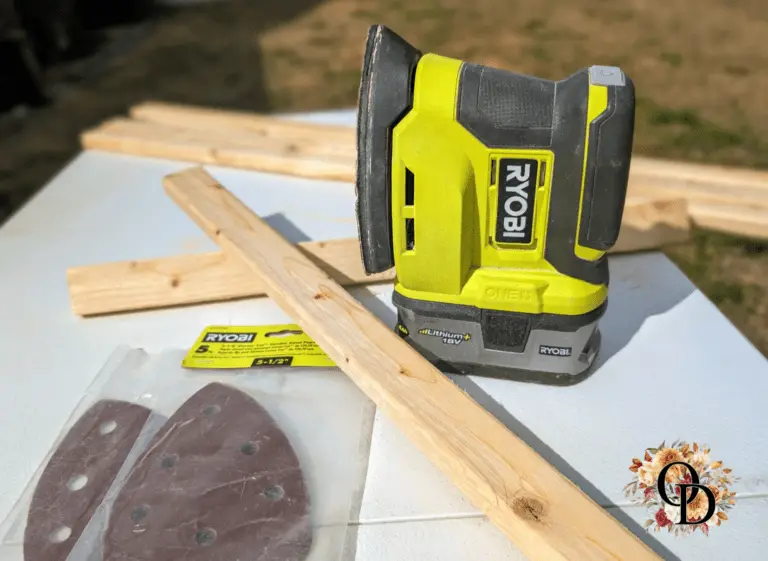
Step 2: Cut & Stain the Wooden Frame
Cut your 1 in. x 2 in. x 8 ft. furring strip board into two strips about 1” longer than your image on both sides. These two strips will be used to frame the top and bottom of your canvas. Sand any rough edges, then apply Minwax Mission Oak Stain for a rich, warm wood tone. After the stain dries, seal the wood with Minwax Polycrylic Water-Based Clear Transparent Satin Interior Stain for added protection and a polished finish.
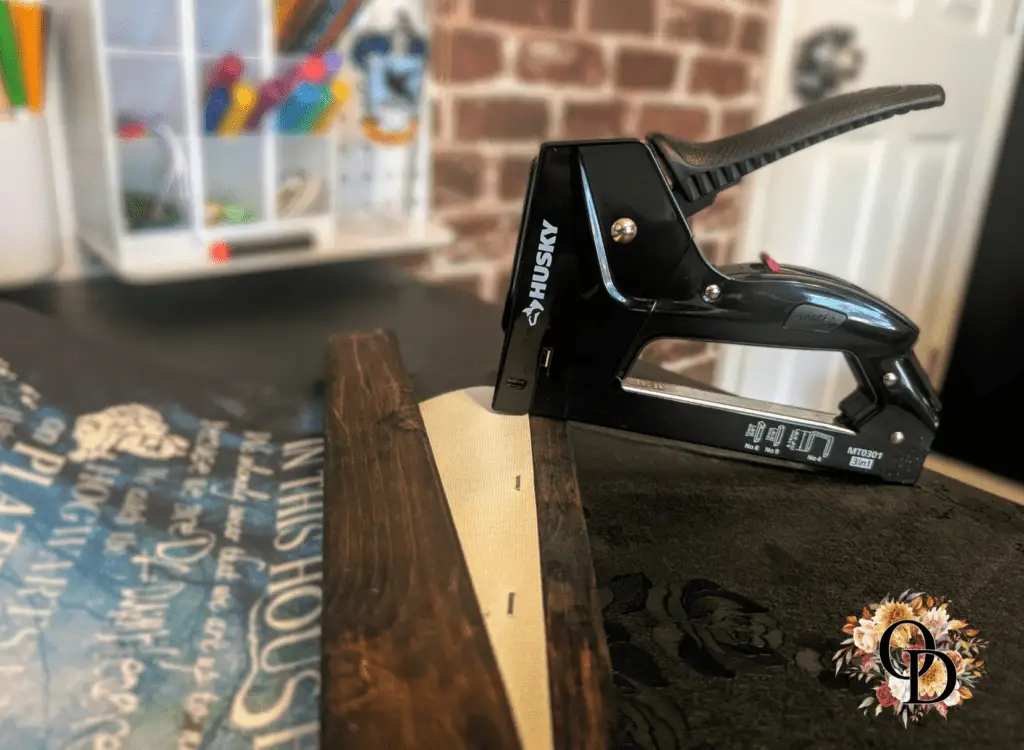
Step 3: Assemble the Canvas & Frame
Align the top and bottom edges of your canvas with the wooden strips. Secure the canvas to the back of the wood using a staple gun, making sure to staple evenly along the edge for a smooth and tight fit.
💡 Pro Tip: Apply a small amount of wood glue to the wood before stapling for extra hold.
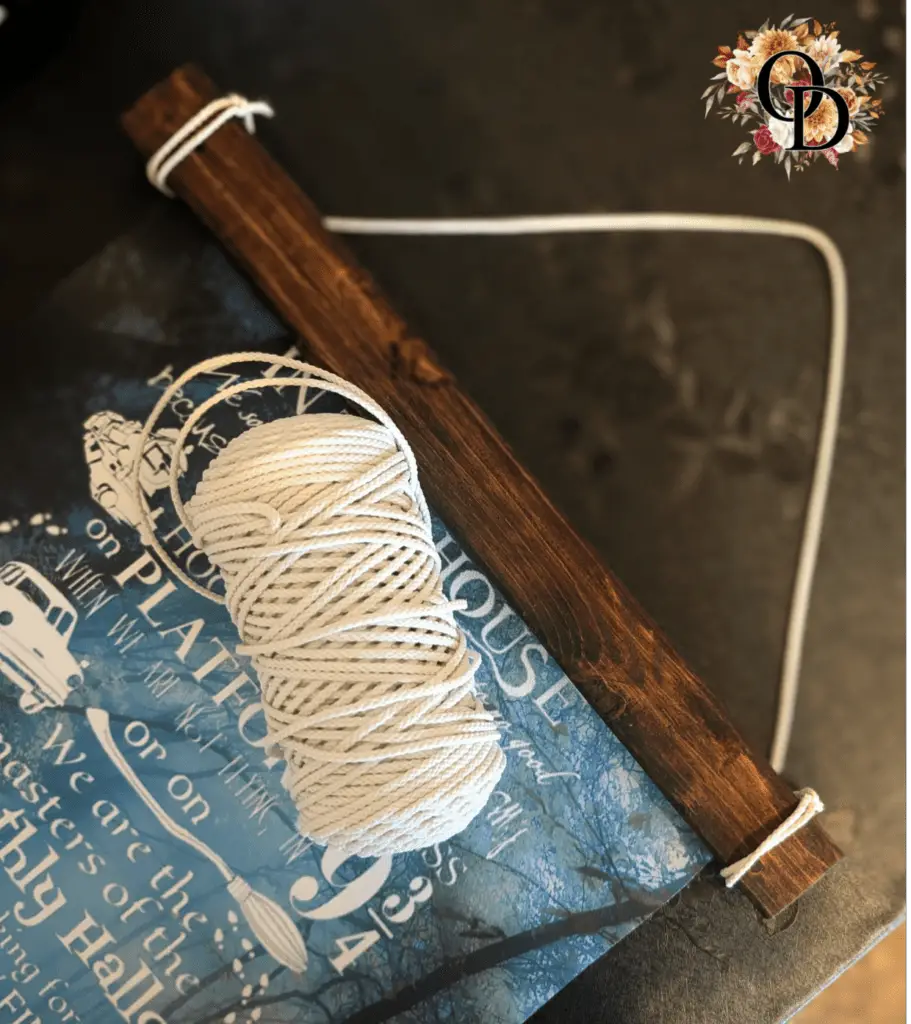
Step 4: Add Twine for Hanging
Cut a piece of twine or Macrame Cord to your desired length and attach it to the top wooden strip. You can staple it directly to the back or drill small holes in the wood to thread the twine through for a cleaner look. Tie knots to secure the twine, and trim any excess.
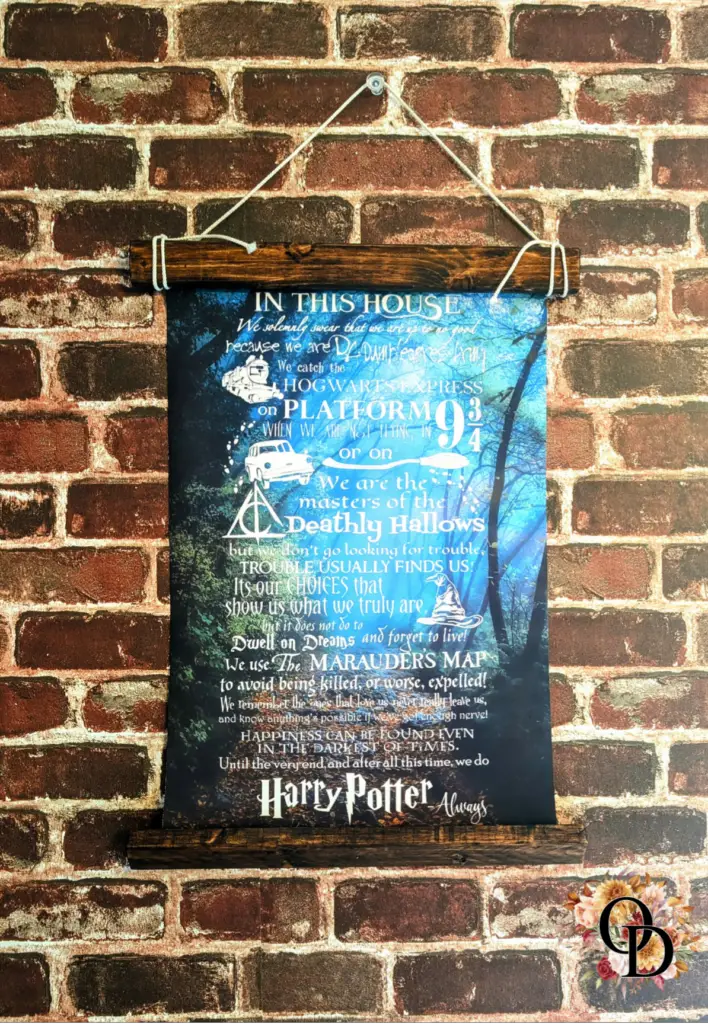
Step 5: Display your Masterpiece
Your DIY hanging wall art décor is now ready to be displayed! Hang it in your room, office, or wherever you want a unique, personal touch. This Harry Potter-themed piece was the perfect addition to Olive’s magical bedroom makeover.
Why This Easy DIY Hanging Wall Art Decor Works
– Completely Customizable: Whether you choose inkjet printable canvas, posters, or even fabric prints, you can tailor this project to match your personal style, room theme, or seasonal decor.
– Budget-Friendly with a High-End Look: This DIY delivers statement-worthy wall art without the hefty price tag of custom framing.
– Beginner-Friendly & Quick: A simple, no-fuss project that’s perfect for beginners or anyone looking for a stylish weekend craft.
Tips & Variations
– Switch Up the Material: Try this technique with posters, vintage maps, motivational quotes, or even lightweight tapestries for a different look and feel.
– Play with Texture: Experiment with fabric posters or linen-textured paper for added dimension.
– Create a Gallery Wall: Mix and match different sizes, colors, or complementary designs to create a dynamic focal point.
With just a few materials and endless design possibilities, this DIY is an easy way to refresh your space in no time!
Where to Get the Harry Potter Posters:
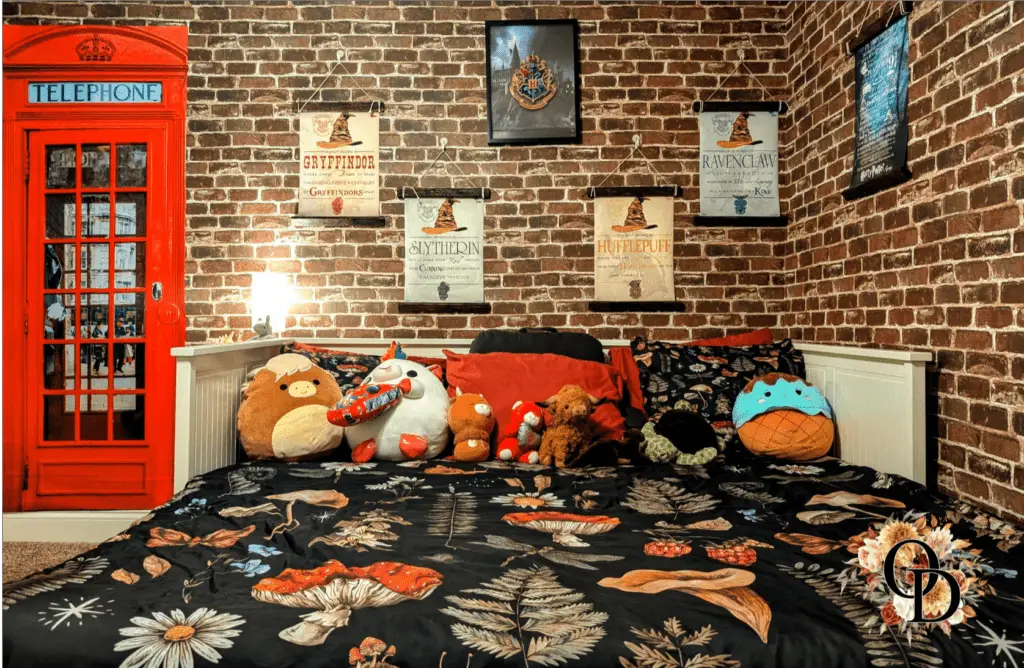
Want to recreate the magical look in Olive’s room? You can purchase the same Harry Potter Wall Posters used in this project here on Amazon. These posters are high-quality, affordable, and the perfect addition to a Harry Potter-themed room!
This DIY Hanging Wall Art Décor is a simple, creative way to personalize your space. Whether you’re making custom designs, personal photographs, or using pre-made posters, this project is a fun way to elevate your walls.
Stay tuned for more DIYs and home projects on Olive&Dom! Happy crafting!
Did you try this tutorial? Share your results in the comments. I’d love to see how your creations turn out!
