Affiliate Disclaimer:
If you have a preteen like Olive, you know the struggle of keeping laptops and electronics off the floor. Despite her customized white IKEA desk and storage drawers, we needed an additional solution for charging her school laptop while keeping it out of harm’s way. Enter this DIY Standup Folding Laptop Desk. A compact, space-saving addition designed to fit on a narrow wall next to her closet’s bifold doors.
This folding desk, at 24” wide and 16” deep, is perfect for small spaces and makes a functional charging station for her laptop. Here’s how we built it:
Materials You'll Need:
– Saw (We used the DEWALT 12-in Single Bevel Compound Corded Miter Saw with Aluminum Adjustable Stand) Shop here at Lowes.
– Drill (We used the RYOBI 18V ONE+ HP Compact Brushless 1/2″ Drill/Driver Kit With Battery & Charger) Shop here at Home Depot.
– Wood Board– Stain-grade S4S Spruce Pine Fir Edge-glued Softwood Board (16” x 24”) Shop here at Lowes.
– Folding Shelf Brackets – 16 Inch Heavy Duty Stainless Steel Collapsible Triangle Shelf Bracket (2 pcs) Shop here on Amazon.
– Desk Grommet– 6 Pack Desk Grommet (50mm, 1.97 inch) Bi-Metal Hole Saw Kit with Cord Wrap Coiled Tube Management. Shop here on Amazon.
– Primer– Kilz All Purpose 2 Interior/Exterior Primer. Shop here at Lowes.
– Paint– Krylon Fusion 5-in-1 Satin White Spray Paint (Use whatever paint or stain you would like). Shop here at Lowes.
– Sealant– Minwax Polycrylic Water-Based Clear Transparent Satin Interior Stain (Spray) Shop here at Lowes.
– Stud Finder– Zircon Stud Finder with Wire Warning. Shop here at Lowes.
– Level– 36” Construction Level. Shop here on Amazon.
– Heavy Duty Wall Anchors– E-Z Ancor Drywall Anchor. Shop here at Lowes.
Step-By-Step Instructions

Step 1: Measure & Cut the Board
For this project, we cut a 16” x 24” wood board to match the dimensions of the folding brackets. This size allows the desk to fold flush against the wall while providing enough space for the laptop and charger. Using the DEWALT Miter Saw, we made clean, precise cuts to prepare the wood.
Step 2: Drill a Hole for Electronics
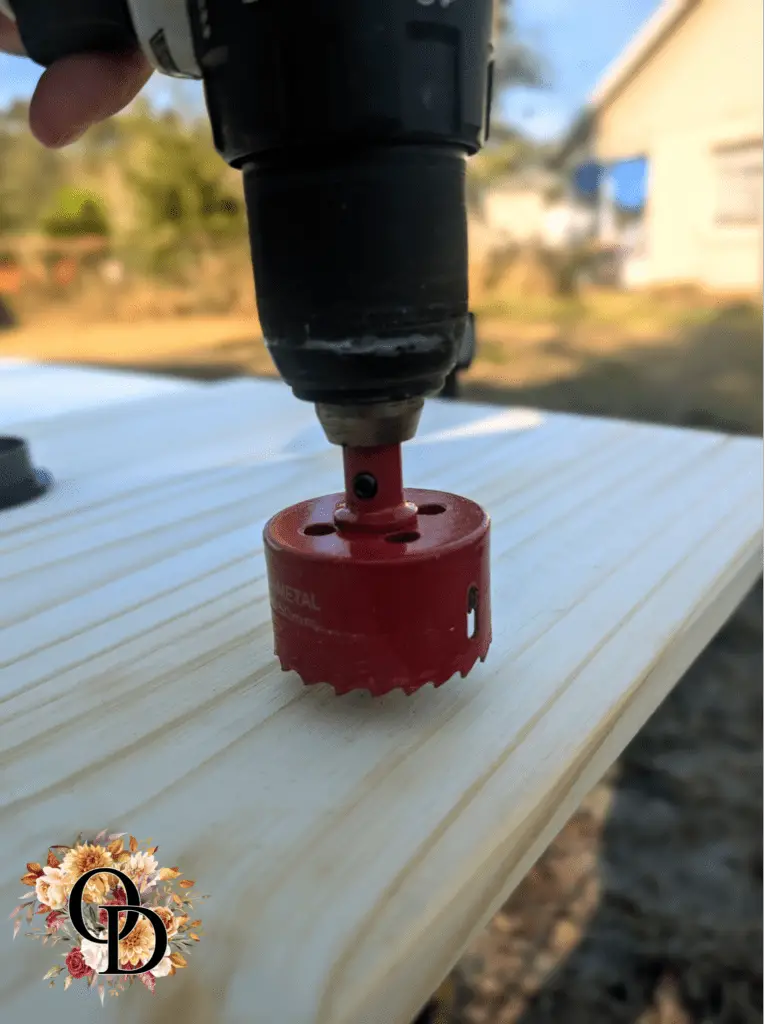
Using the Bi-Metal Hole Saw Kit and RYOBI Drill/Driver, we drilled a 50mm hole in the center of the back of the wood. This hole is for the Desk Grommet, which keeps Olive’s laptop charger cord tidy and out of the way. The Cable Sleeve Organizer neatly routes the cable to the nearest outlet.
Step 3: Sand & PRepare the Wood
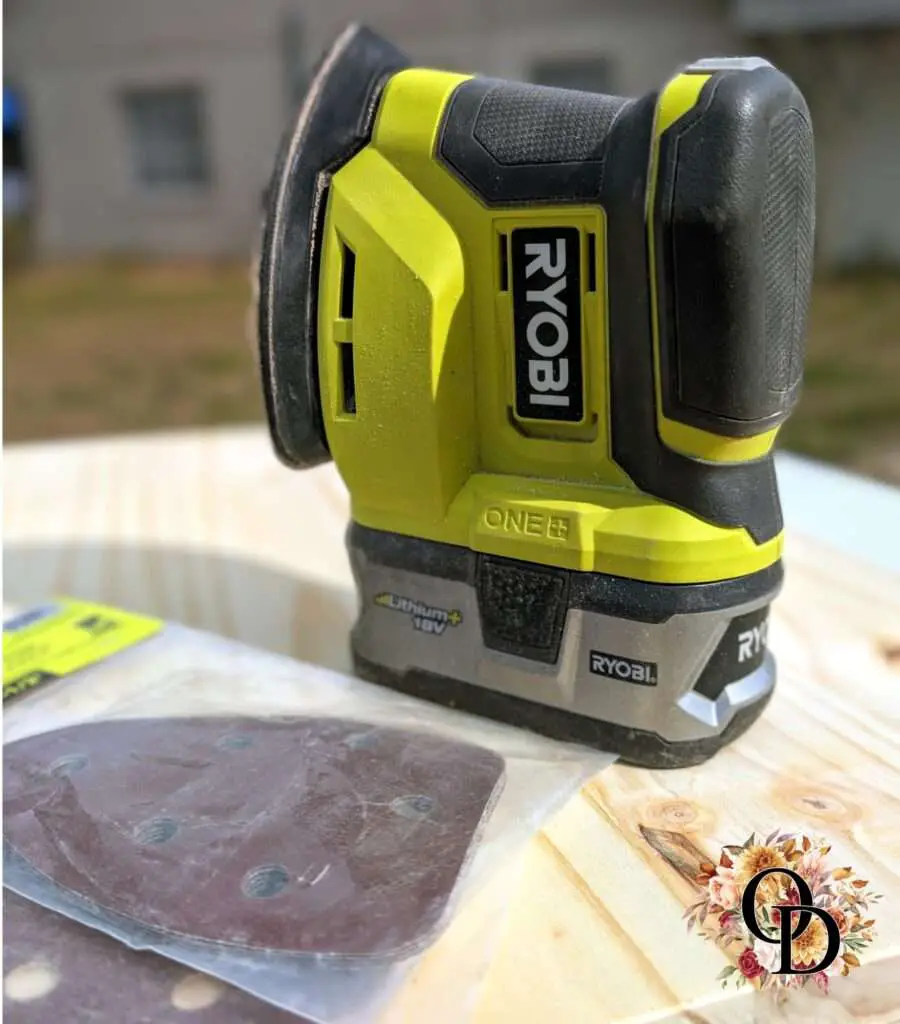
After drilling, we sanded the edges and surface to remove splinters and ensure a smooth base for painting. Proper sanding is crucial for a polished final look.
Step 4: Prime & Paint
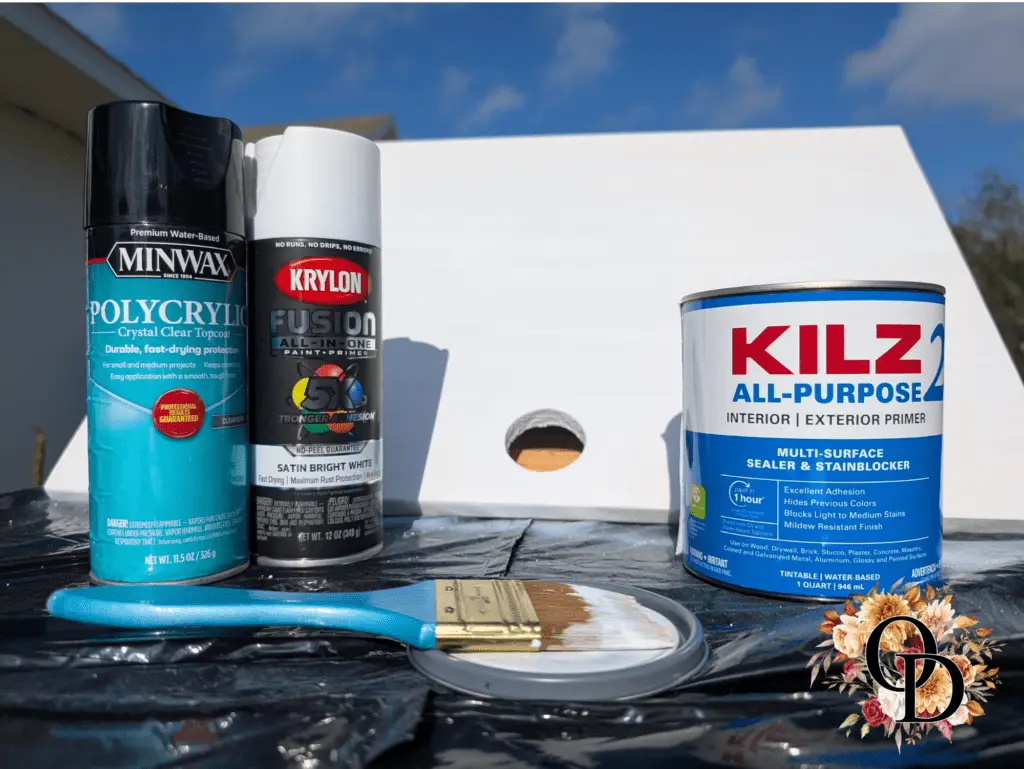
To start, we gave the board a solid foundation with two coats of Kilz All Purpose Primer. Once dry, we applied 2–3 coats of Krylon Fusion 5-in-1 Satin White Spray Paint to seamlessly blend with Olive’s furniture. For extra durability (because let’s face it, a well-loved desk sees its fair share of wear and tear), we sealed everything with Minwax Polycrylic Satin Spray, ensuring an easy-to-clean, long-lasting finish.
Initially, we planned to leave the desktop white, but we opted for a peel-and-stick adhesive vinyl from Amazon that matches Olive’s desk perfectly. Both for a cohesive look and added surface protection. We still wanted a hint of white to peek through around the edges, so we left a border. As for the underside? A quick coat of leftover black spray paint gave it a clean, finished look with zero extra cost!
💡 Pro Tip: Keep in mind when painting or staining that when the desk is folded down, one side will be visible while the other (where the brackets attach) will be tucked away.
Step 5: Install the Folding Shelf Brackets
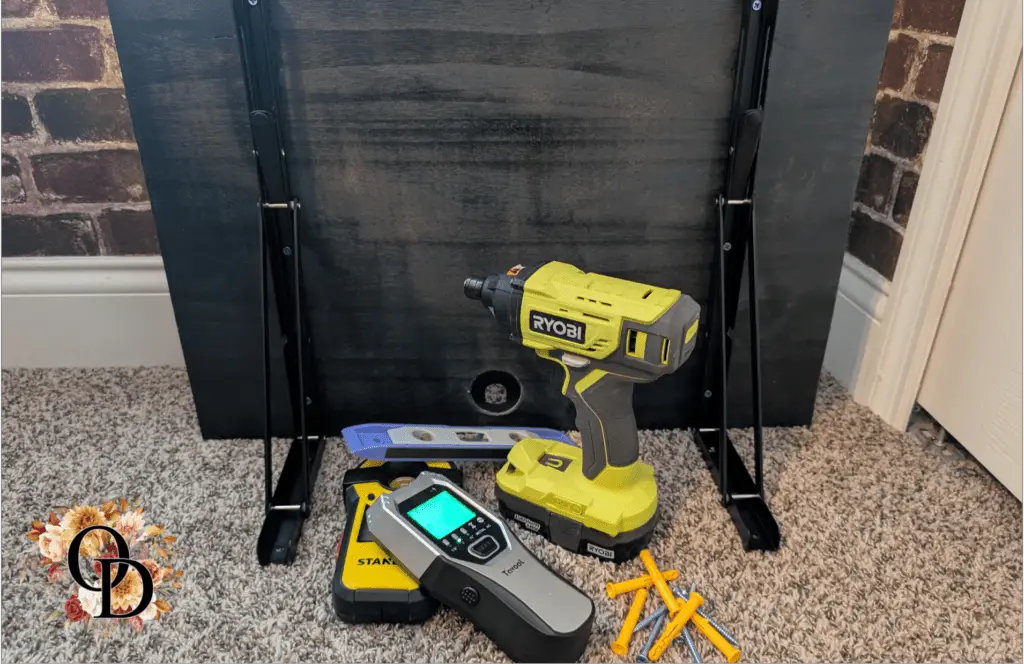
With the 16-inch folding shelf brackets in hand, we installed them at a height that matched Olive’s ideal standing position. To ensure a sturdy setup, we used heavy-duty wall anchors, giving the brackets the strength to support the desk and laptop without worry. These brackets serve a dual purpose: they provide rock-solid support while also allowing the desk to fold neatly against the wall when not in use.
Once the brackets were secure, we attached the wood board, carefully checking that it folded smoothly and sat level when extended (no one wants a wobbly workspace!)
💡 Pro Tip: Always use a stud finder, a level, and the right type of wall anchors for your setup. The anchors that come with the brackets may not be suitable for all wall types. If you’re drilling into block, masonry, or metal, be sure to use anchors specifically designed for those materials to get the best hold.

Step 6: Add Grommet & Cable Management
We inserted the Desk Grommet into the drilled hole from Step 2, threading the laptop charger cord through it. The Cable Sleeve Organizer keeps the cord hidden and organized, creating a clean and clutter-free look. We didn’t use the Cable Sleeve Organizer for this particular project but it was a nice addition to the kit.
Finishing Touches
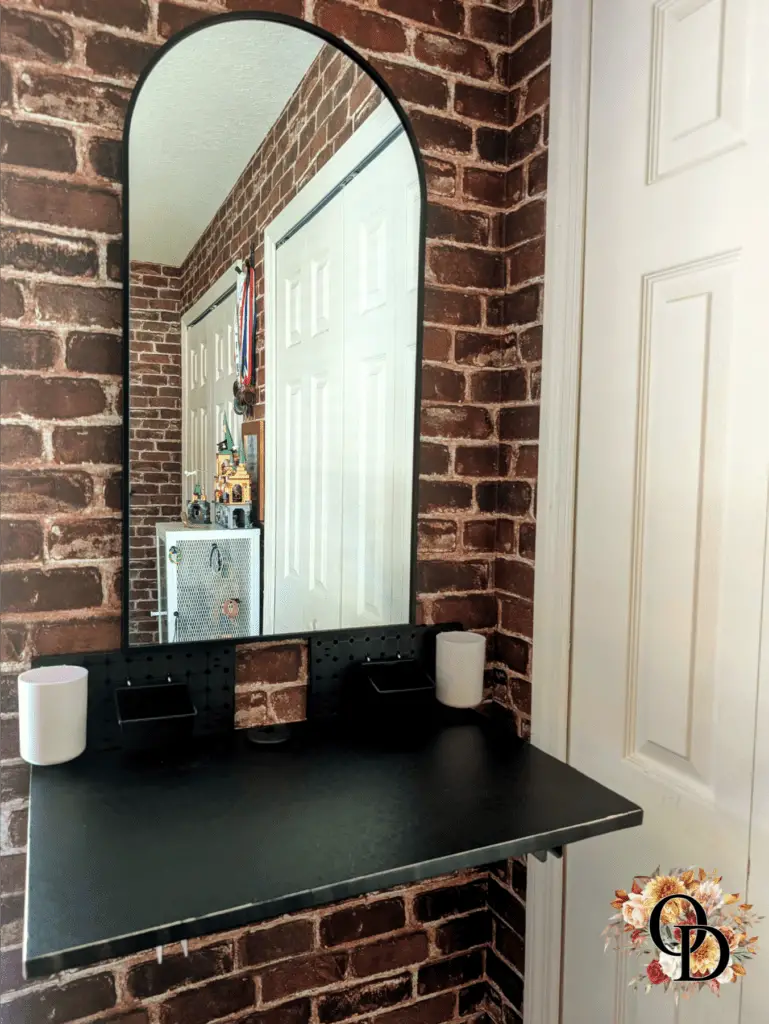
As mentioned in Step 4, we wanted to protect the surface from daily wear and tear, so we covered it with the same peel-and-stick wallpaper used on Olive’s main desk. This not only keeps the look cohesive but also adds a layer of durability. If you love this idea, you can grab the same wallpaper [here on Amazon].
There are so many fun ways to customize your folding laptop desk to match your style! We decided to take it a step further by adding a narrow black pegboard above the desk complete with pegboard cups and trays. We thought it would be perfect for keeping office essentials, school supplies, or even makeup accessories organized. To make the space even more versatile, we also added a mirror, transforming this desk into a dual-purpose workstation and makeup vanity.
Here are a few more creative ways to personalize your setup:
–Photo Collage: Print your favorite photos, ticket stubs, or inspirational quotes and seal them with Mod Podge or a clear acrylic sealer for a one-of-a-kind surface. (I almost went with this idea, but Olive wanted a matching desk, though I have a feeling she’ll change her mind later!)
–Chalkboard or Whiteboard Surface: Paint the desktop with chalkboard paint or attach a peel-and-stick whiteboard sheet (perfect for jotting down notes, doodles, or daily to-dos.)
–LED Strip Lights: Add a battery-operated LED strip under the desk for a cool backlit effect (especially fun for nighttime study sessions!)
–Built-in Charging Station: If you want to go all out, consider attaching a small power strip or USB hub underneath to keep cords tidy and devices charged.
–Floating Shelf Above: Install a floating shelf above the desk for extra storage, décor, or even a mini cork board for reminders.
The beauty of a DIY project is that you can start simple and customize over time as your needs (or style) change. Have fun making it your own!
Why This Desk Works for Us
– Space-Saving Design: The foldable setup keeps it out of the way when not in use, making it perfect for small spaces.
– Tidy & Organized: With a built-in grommet and cable management system, there are no messy cords (just a clean, clutter-free workspace. I can only hope!)
– Durable & Customizable: Made with sturdy materials and finished with peel-and-stick vinyl, it not only holds up to daily use but also blends seamlessly with Olive’s room.
– Encourages Better Habits: No more laptops left on the floor. (Fingers crossed this new setup sticks!)
Designed to fit right into Olive’s Harry Potter-themed room, this DIY folding laptop desk maximizes space while providing a dedicated spot for work, charging, and even getting ready (thanks to the pegboard and mirror addition!). Functional, stylish, and totally us!
Ready to Build Your Own?
If you’re looking for a simple way to add a functional workspace to a small room, this DIY folding desk is a perfect solution. Try it out and share your results with us! Have questions or ideas? Drop a comment below, we’d love to hear from you!


